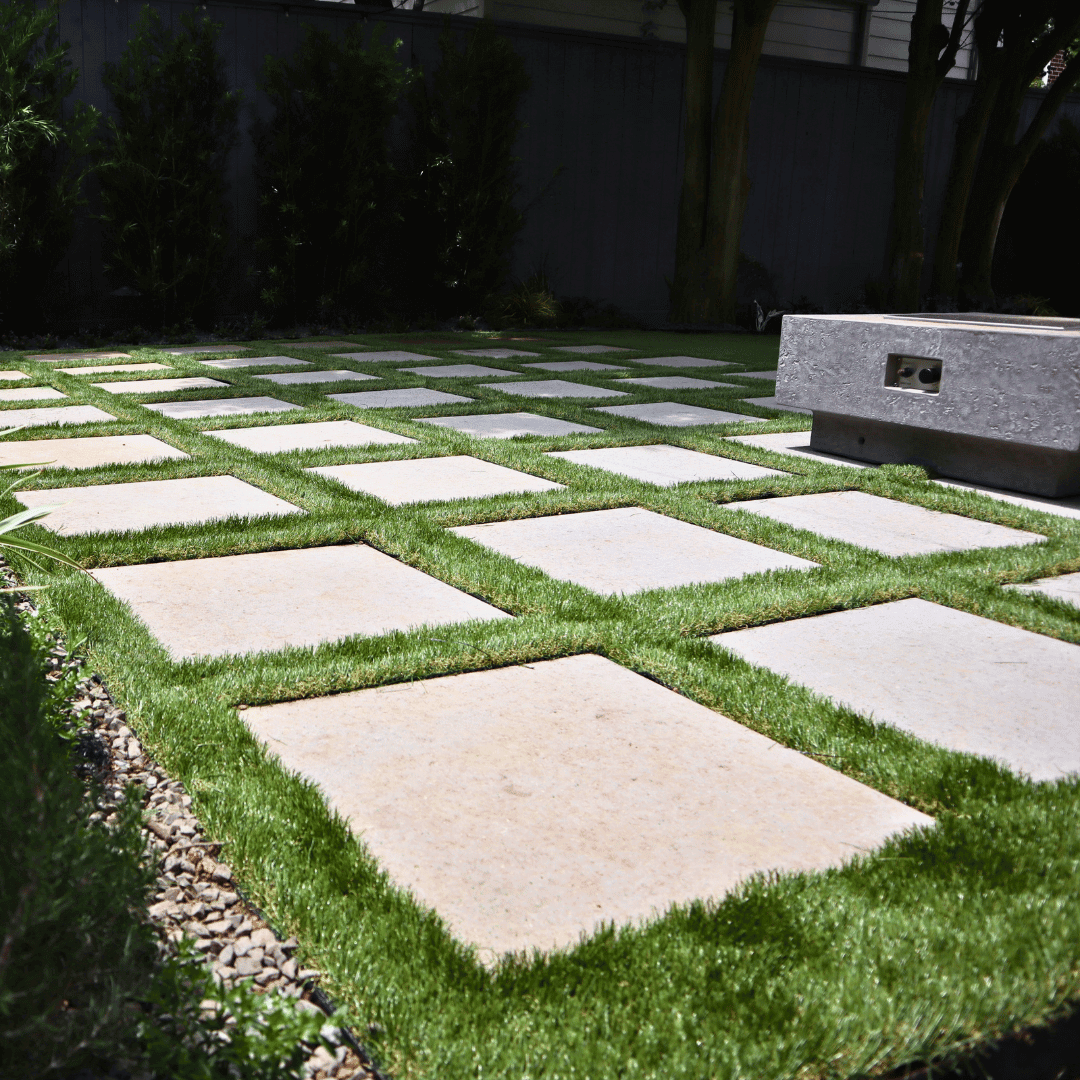
If you’re considering transforming your yard with artificial turf, you’re making a great choice. Artificial turf not only provides a low-maintenance, beautiful lawn year-round but also saves you time, money, and resources in the long run. However, to get the most out of your artificial grass investment, proper installation is key. Here are some expert turf installation tips to help you achieve a flawless result.
1. Proper Planning is Essential
Before diving into the installation process, take the time to plan. Consider the area you want to cover, whether it’s a small yard, large garden, or a pet-friendly play area. Measure the space accurately and ensure you have enough turf to cover the entire surface, accounting for some extra material for trimming and fitting. Also, think about the drainage system—good drainage is crucial for preventing water from pooling on your turf, especially in areas that experience heavy rainfall like Houston, Texas.
2. Choose the Right Turf for Your Needs
Selecting the right type of artificial turf is crucial. There are different types of turf, designed for various purposes, such as pet turf, playground turf, and landscaping turf. Make sure to choose the one that suits your space’s purpose, whether it’s aesthetic appeal, durability for pets, or comfort for children. Quality artificial grass is UV-resistant, durable, and designed to handle specific environments, ensuring that your turf remains vibrant and functional for years.
3. Prepare the Ground Properly
A successful turf installation starts with proper ground preparation. Begin by removing any existing grass, weeds, or debris from the area where you’ll install the turf. Use a shovel, rake, or a sod cutter for larger areas. Once the old grass is gone, level the ground, ensuring it’s flat and smooth. The ground should also have a slight slope (about 1% gradient) to ensure proper drainage. If necessary, compact the soil using a roller or mechanical compactor to prevent shifting after installation.
4. Install a Weed Barrier
Weeds can be a hassle, but with a proper weed barrier, you can prevent them from growing through your artificial grass. Lay down a weed-proof fabric or membrane across the entire area before installing the turf. This extra layer ensures that no unwanted vegetation can poke through and spoil the look of your lawn.
5. Create a Stable Base Layer
A strong, stable base layer is essential for turf longevity. After the weed barrier, spread a layer of crushed stone or decomposed granite to create a solid foundation. This base should be compacted to a smooth and even surface. The base should be around 2-4 inches thick, depending on the soil type and expected foot traffic. This will not only provide stability but also facilitate drainage.
6. Install the Turf
When it’s time to lay the turf, make sure it’s aligned properly. Start from one edge and work your way across the area. Roll out the turf so that the fibers point in the same direction, ensuring a uniform look. Avoid stretching the turf, as this can cause it to warp or wrinkle over time. Trim any excess turf at the edges using a sharp utility knife to achieve a clean, tight fit.
7. Secure the Turf Properly
Once the turf is in place, it’s time to secure it. Use landscape staples or turf nails to fasten the edges and seams of the artificial grass to the ground. Ensure the staples are spaced about 4-6 inches apart along the perimeter of the turf and across any seams. If you have overlapping seams, use specialized seam tape and adhesive to bond them securely, ensuring the turf looks seamless and natural.
8. Add Infill for Stability and Comfort
Infill is a key part of any artificial turf installation. It helps to weigh the turf down, prevent shifting, and keep the fibers upright. For landscaping or residential use, silica sand or rubber infill can be used, while for pet areas, organic or antimicrobial infill is often recommended. Use a seed spreader to distribute the infill evenly across the turf, and then brush the surface using a stiff-bristled broom to ensure the fibers stand tall and uniform.
9. Final Touches and Grooming
Once the turf is installed, brush the grass fibers with a stiff broom or turf brush to remove any debris and make the blades stand upright. This grooming process enhances the visual appeal and helps the turf maintain a natural look. Keep an eye on the edges and make sure they’re neatly tucked or secured.
10. Ongoing Maintenance
Although artificial turf requires far less maintenance than natural grass, some ongoing care is still necessary. Periodically, remove leaves, sticks, and debris from the surface using a blower or rake. For high-traffic areas, it’s important to regularly brush the turf to ensure the fibers stay upright and maintain their lush appearance. If your turf is used by pets, it’s essential to hose it down occasionally to clean off any waste and prevent odor buildup.
Conclusion
Artificial turf offers a durable, low-maintenance, and eco-friendly solution for many outdoor spaces. By following these turf installation tips, you’ll be able to create a beautiful, functional lawn that will last for years. Whether you’re enhancing your garden, building a pet-friendly yard, or creating a play area for kids, artificial turf is a great investment that saves time, water, and effort while providing a pristine green space all year round.
For professional artificial turf installation in Houston, Texas, Green Century Services is here to help you with expert guidance and quality turf solutions. Contact us today for a consultation!
